Thursday, December 2, 2021

Easy Simple Tree Tutorial

 Hey guys, I have another very simple tree you can make for your crafting projects especially for December Daily/Documenting project. It is quite easy and just like the origami tree tutorial I posted previously, you can decorate it to be a Christmas tree. 

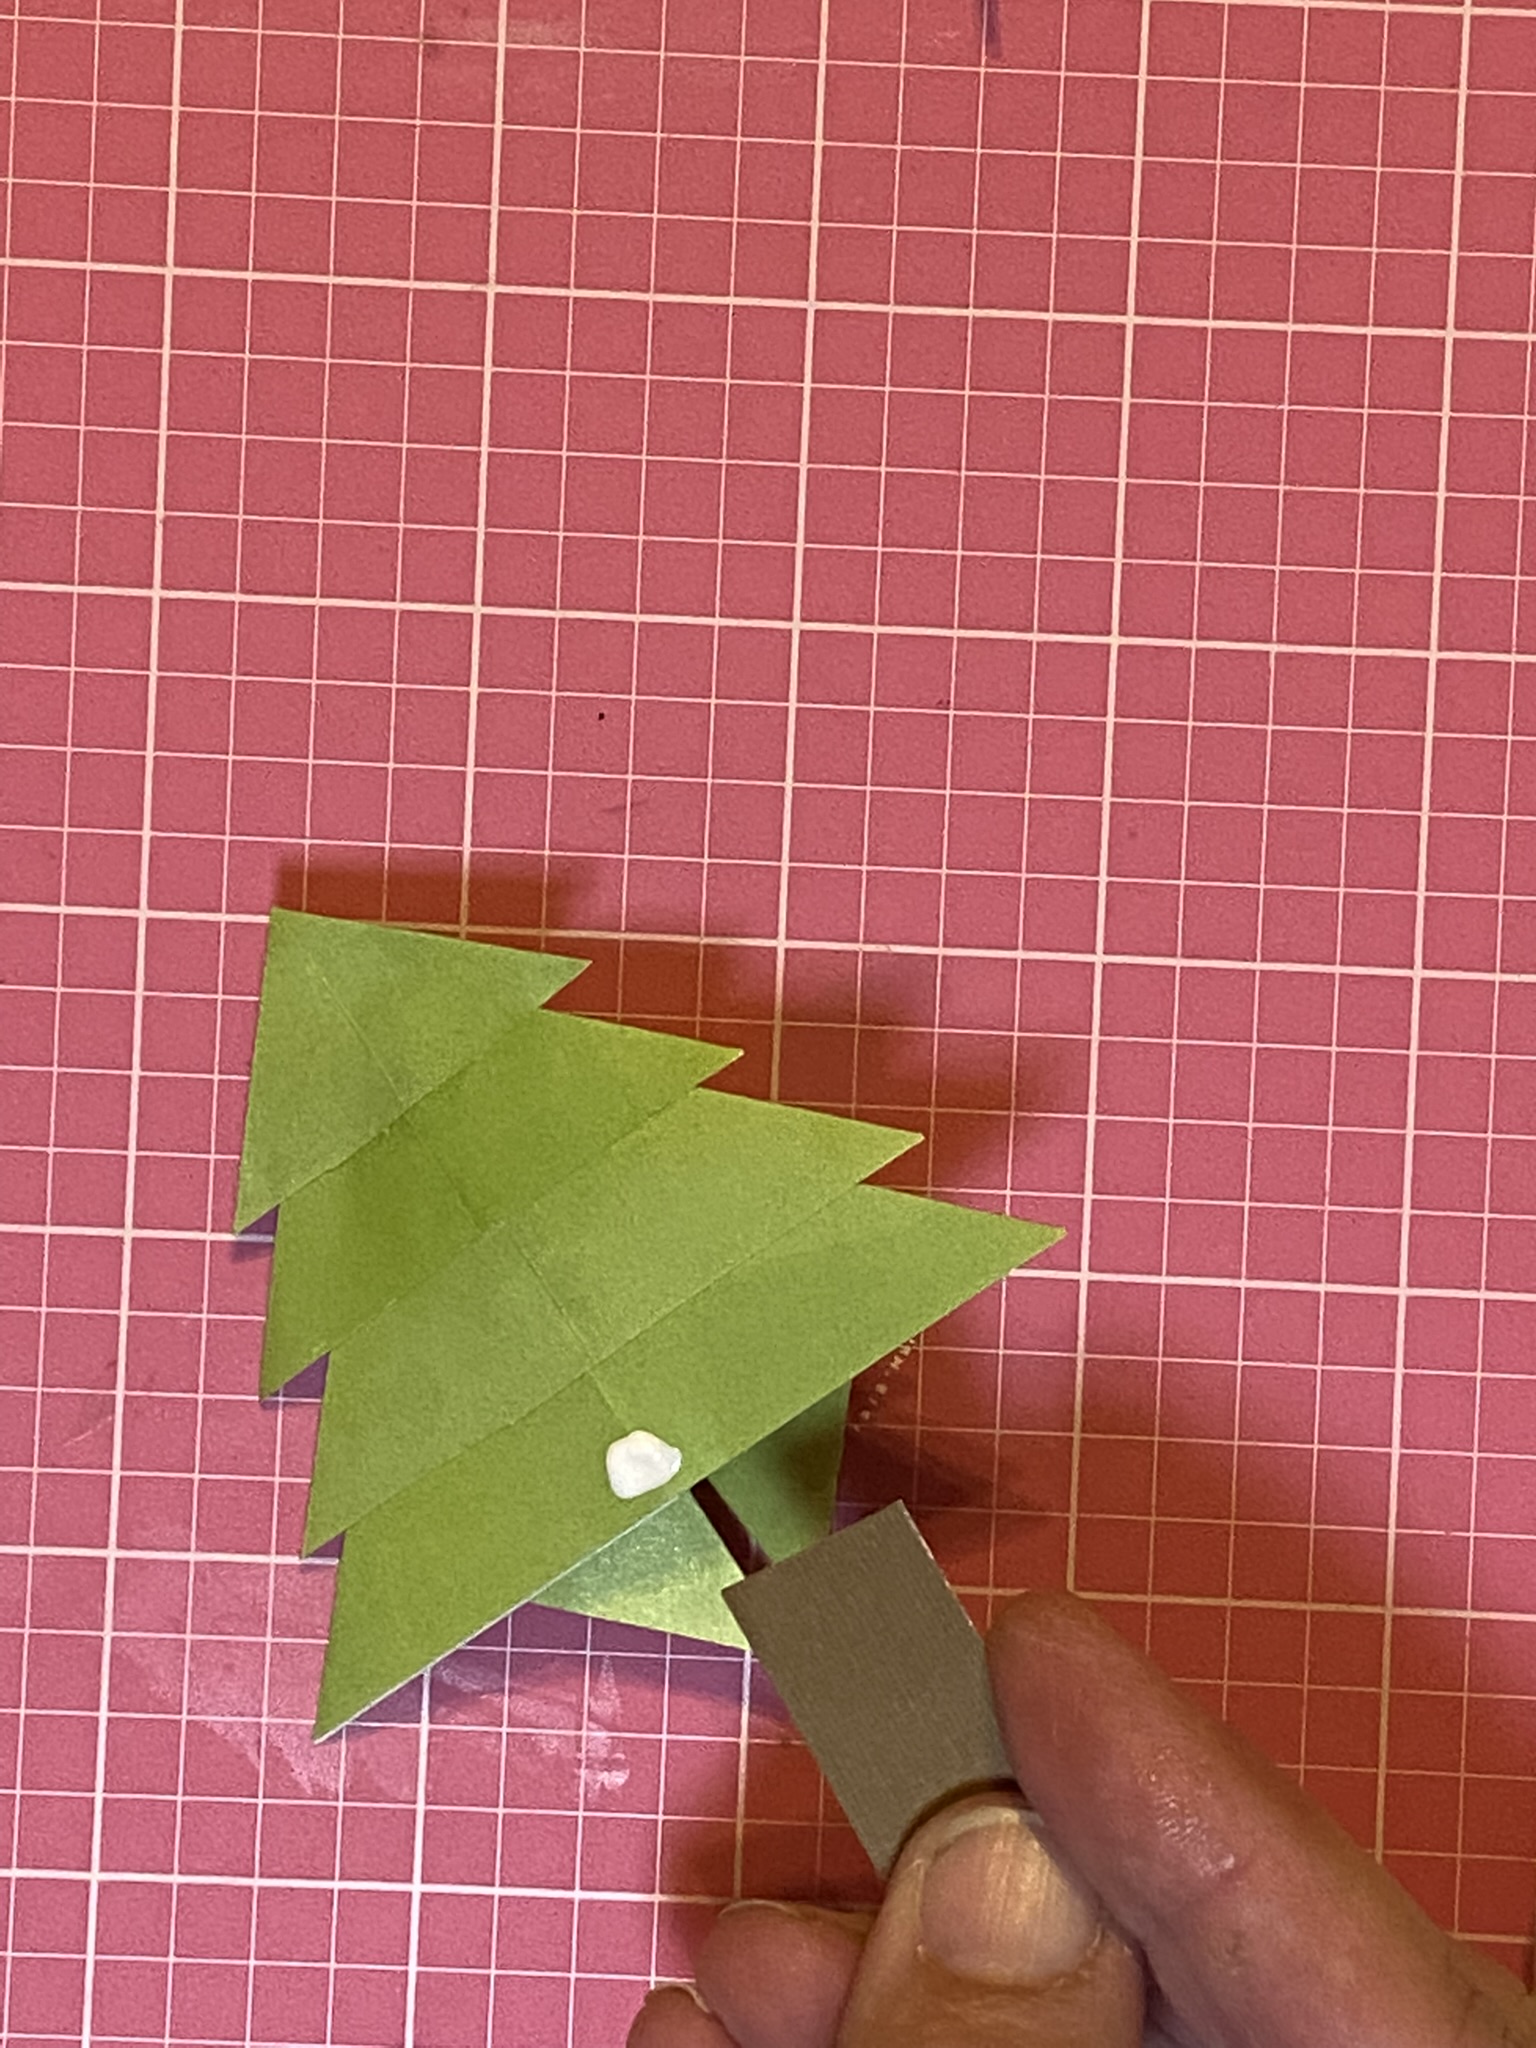
All you need is a square piece of paper or cardstock of your choice, it is best to use 2-sided paper for this project since you will be able to see both sides. The larger the paper the bigger the tree but remember once you add a tree trunk and any embellishments at the top like star (if you want to make it a Christmas tree), the tree will be even bigger so make sure you consider that in the size square you choose. 

Take the square and fold it diagonally as shown in the picture below. 


You will cut slits in the paper but not all the way through. Hold the paper at the angle shown in the picture above. The wider the cuts the larger the branches. The picture below is a sample of how not to cut it. This will not produce the tree shape you are wanting. 

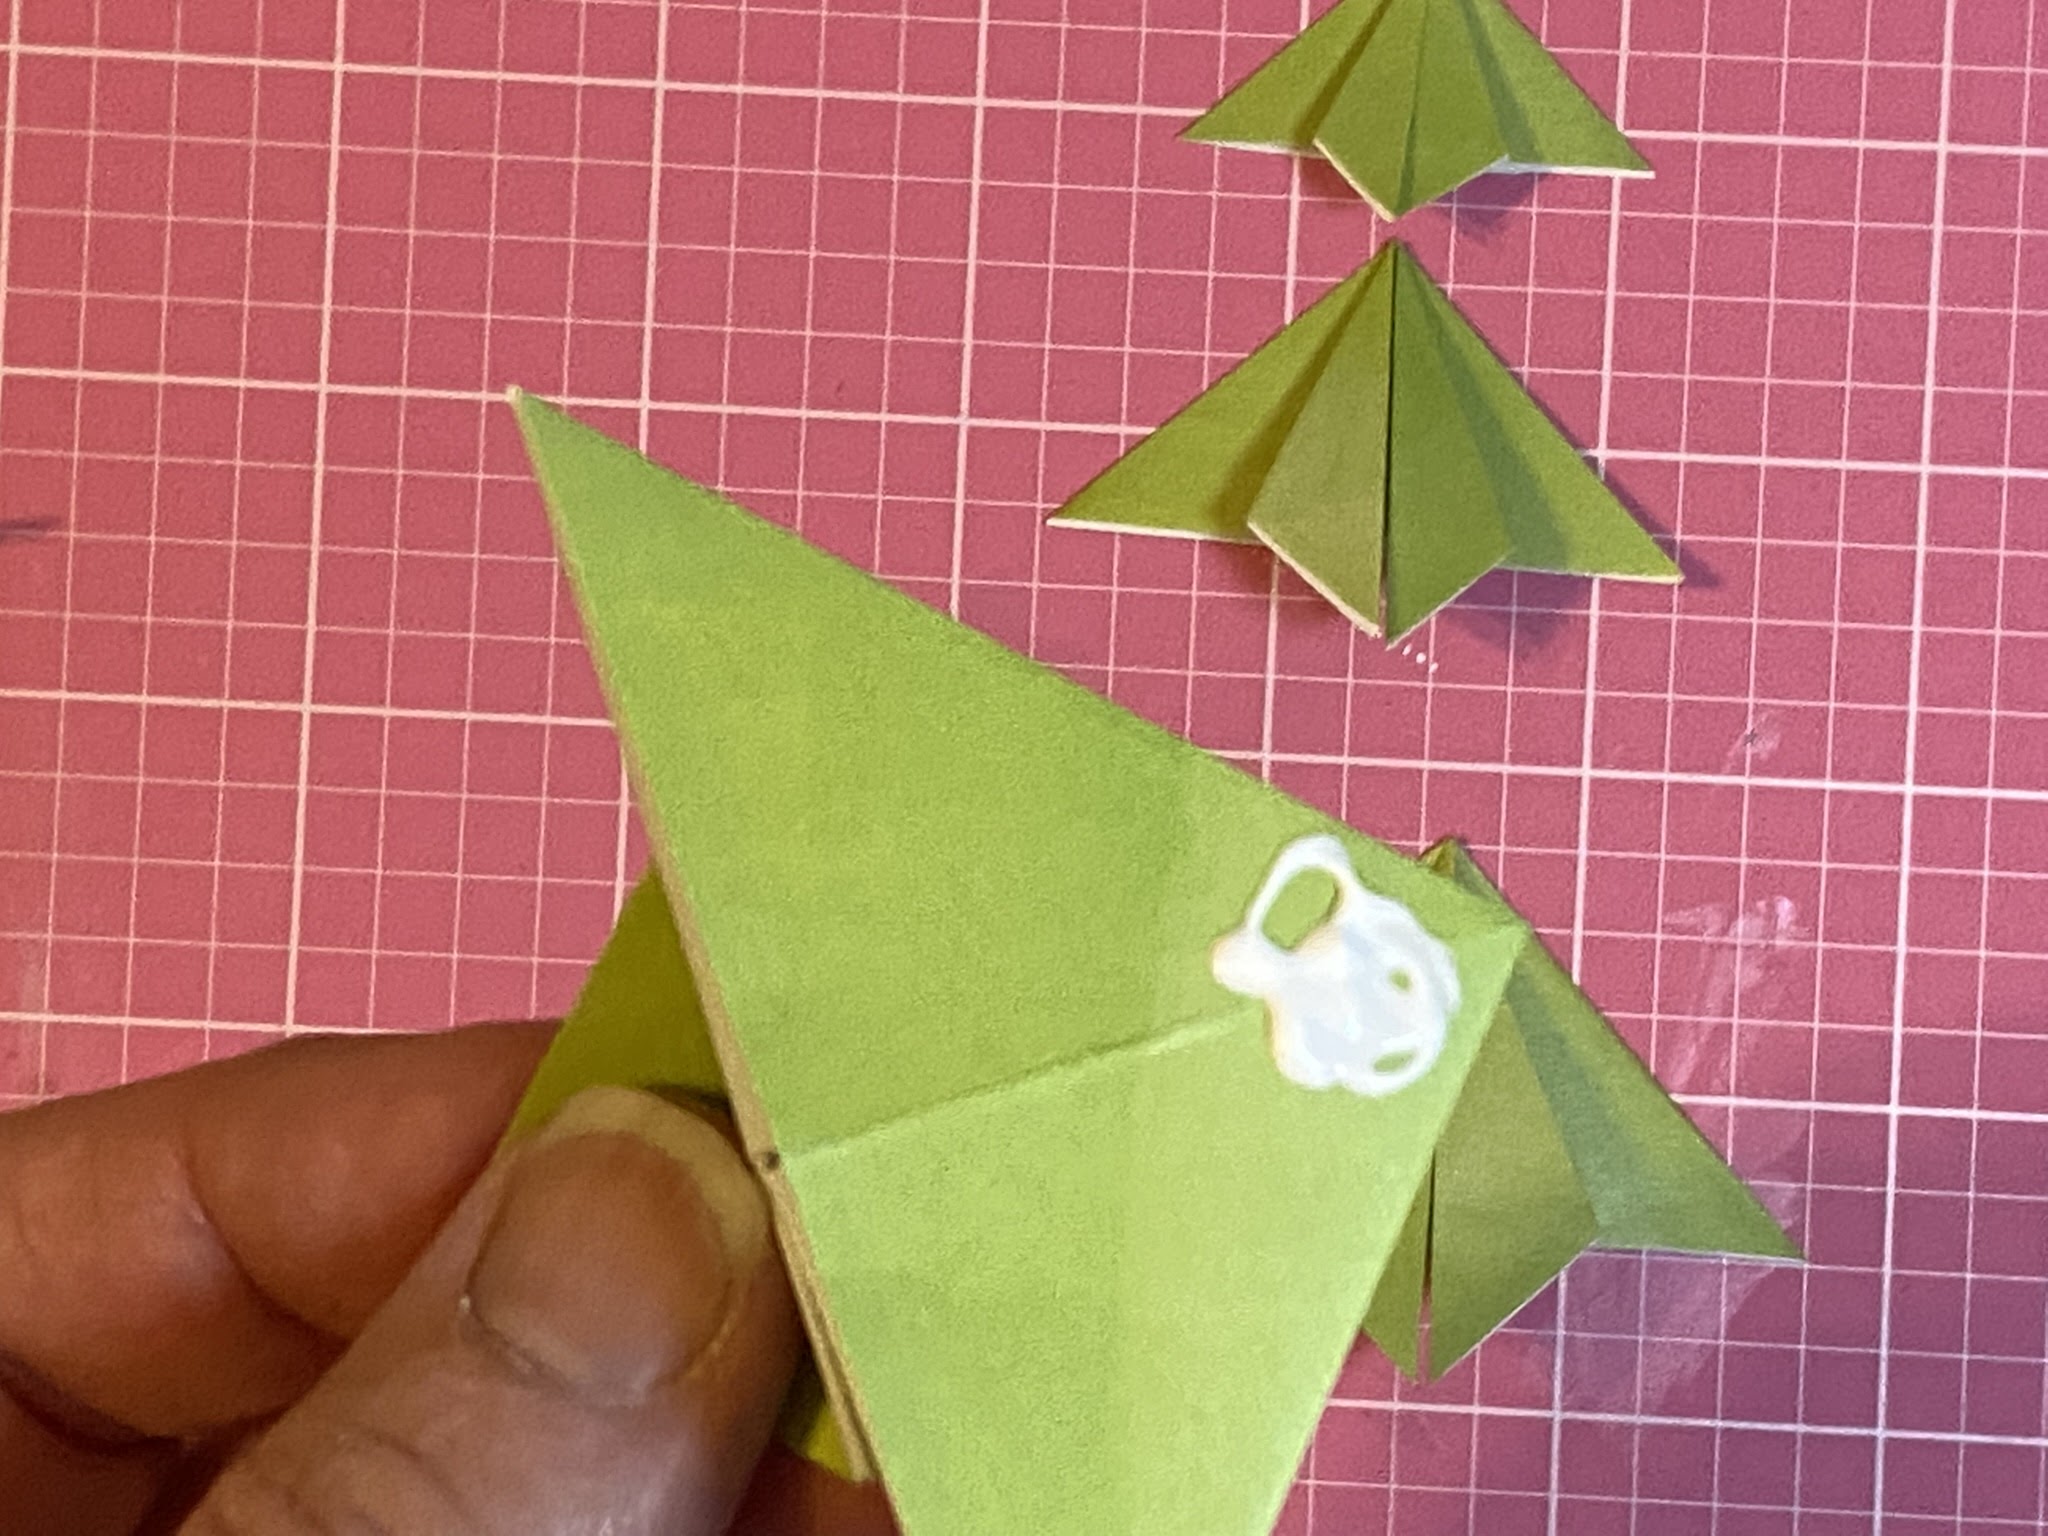
After cutting the slits, open it up to the back side. This is important if it is a two-sided paper and one side is the prominent one that you want to show. With cardstock it doesn't matter. You will take the bottom slit and fold over to the center and glue in place and then do the same with the opposite side. Work your way up the tree overlapping each layer. 

I added a star to the top and trimmed any excess paper from around it so it didn't show. Then added a tree trunk. You can add pompoms, sequins, stickles, pearls, jewels, ribbon or trim to your tree to make a Christmas tree. 

Here is quick tutorial video I made. Sorry it's not great but I'm new at making the videos so it's not perfect but I hope it may help. And forgive my terrible nails! I had been working in the yard and it tore up my hands.  


Hope you enjoy!

Origami Trees

 Hello, hello, hello everyone. I am here today to show you these cute origami trees I learned how to make. They are so cute and you can use them in your December Daily or other holiday documenting. 

Origami trees are easier than you might think. You can use these for scrapbook layouts or for cards as regular trees or even Christmas trees. In my example, you will need 4 squares of paper. You can use cardstock or a light weight paper and it can be one sided paper as well since the white side will not show. You could use more or less squares depending on the size you are wanting.

You will need the paper you would like for your trees, a piece of brown cardstock for a trunk if you wish to have one, a bone folder, and some adhesive. That's is it except for if you want a decorated Christmas tree then you will need some embellishments of your choice. 

The squares of paper are 3”, 2 ½” 2”, and 1 1/2”. That gave me a tree that is 2 1/4” tall. If you want larger trees just increase the sizes of paper such as 4”, 3 ½”, 3”, and 2 ½”. Just remember to go down ½” at a time. Your tree could be slightly taller or shorter by how far each square is adhered to the other. You will understand what I mean later.

For each square, fold it in half and then open rotate and fold in half again. So, you will be folding the square in half horizontally and vertically. Then you will fold the square from corner to corner, open it and repeat for the other two corners. As you will see in the first picture below, you will be folding it along each of the lines. 


Open the square and you will see all the fold lines. You will have the two side folds go in and then you fold it flat and when you are done it will look like a triangle. Then you will fold the top layer towards the center fold and repeat for the other side. Make sure to use your bone folder for each fold to make it nice a creased which will give you better definition to your project.


Starting with the two largest square pieces, place the largest inside the next smaller size, and then repeat by adding the next smaller square, and so forth. Add the tree trunk if you want it for your particular project as well as an embellishments if you want to make it a Christmas tree.  


Here's a quick tutorial video on how to make them. It isn't perfect but it was my first time doing a video like that.  


Hope you try to make these adorable trees! Enjoy!

Saturday, October 2, 2021

Week In The Life 2021 Album Walkthrough

 What I didn't mention in my previous post was I have also managed to do a Week in the Life album this year. If you aren't sure what Day in the Life and Week in the Life are you can go to Ali Edwards website and she explains it (aliedwards.com). But essentially it is just where you take snippets of each day for an entire week to show what you days are like, what your routines are, what you are currently watching or listening to, etc. I think it would have been awesome to see something like this from my grandmother or other family members. What were things like for them back then. 

This is the first year I have managed to complete the project and it was a lot of fun. I am also doing Day in the Life where you do a deeper dive into everyday life and this project is usually done on two different days in the year but you don't have to do it that way. Once I finish the second day of that project I will also share it. Here is a walk through of my album. Hope you enjoy it.  #WITL  #Weekinthelife


Wayyyy Too LONG!!

 It has been way too long since my last post. Life gets in the way as well as work and dealing with COVID and then going through accreditation and for some of it I was doing solo which was not fun I can tell you that. Anyway, I have done a little bit of creating along the way. I've got a few layouts done, worked on completing my December Daily from last year, did Day In The Life (DITL) and about do that again in a couple of weeks, and I started some mixed media projects but they are complete yet. 

So here are some of my layouts that I've got done and I'm proud of myself for getting pictures of me in my albums for a change. Actually, I'm in all of them but one! Trying to get rid of that anxiety or fear that keeps me from scrapping about myself. Anyway, I hope you like them.