Hello, hello, hello everyone. I am here today to show you these cute origami trees I learned how to make. They are so cute and you can use them in your December Daily or other holiday documenting.
Origami
trees are easier than you might think. You can use these for scrapbook layouts
or for cards as regular trees or even Christmas trees. In my example, you will
need 4 squares of paper. You can use cardstock or a light weight paper and it
can be one sided paper as well since the white side will not show. You could
use more or less squares depending on the size you are wanting.
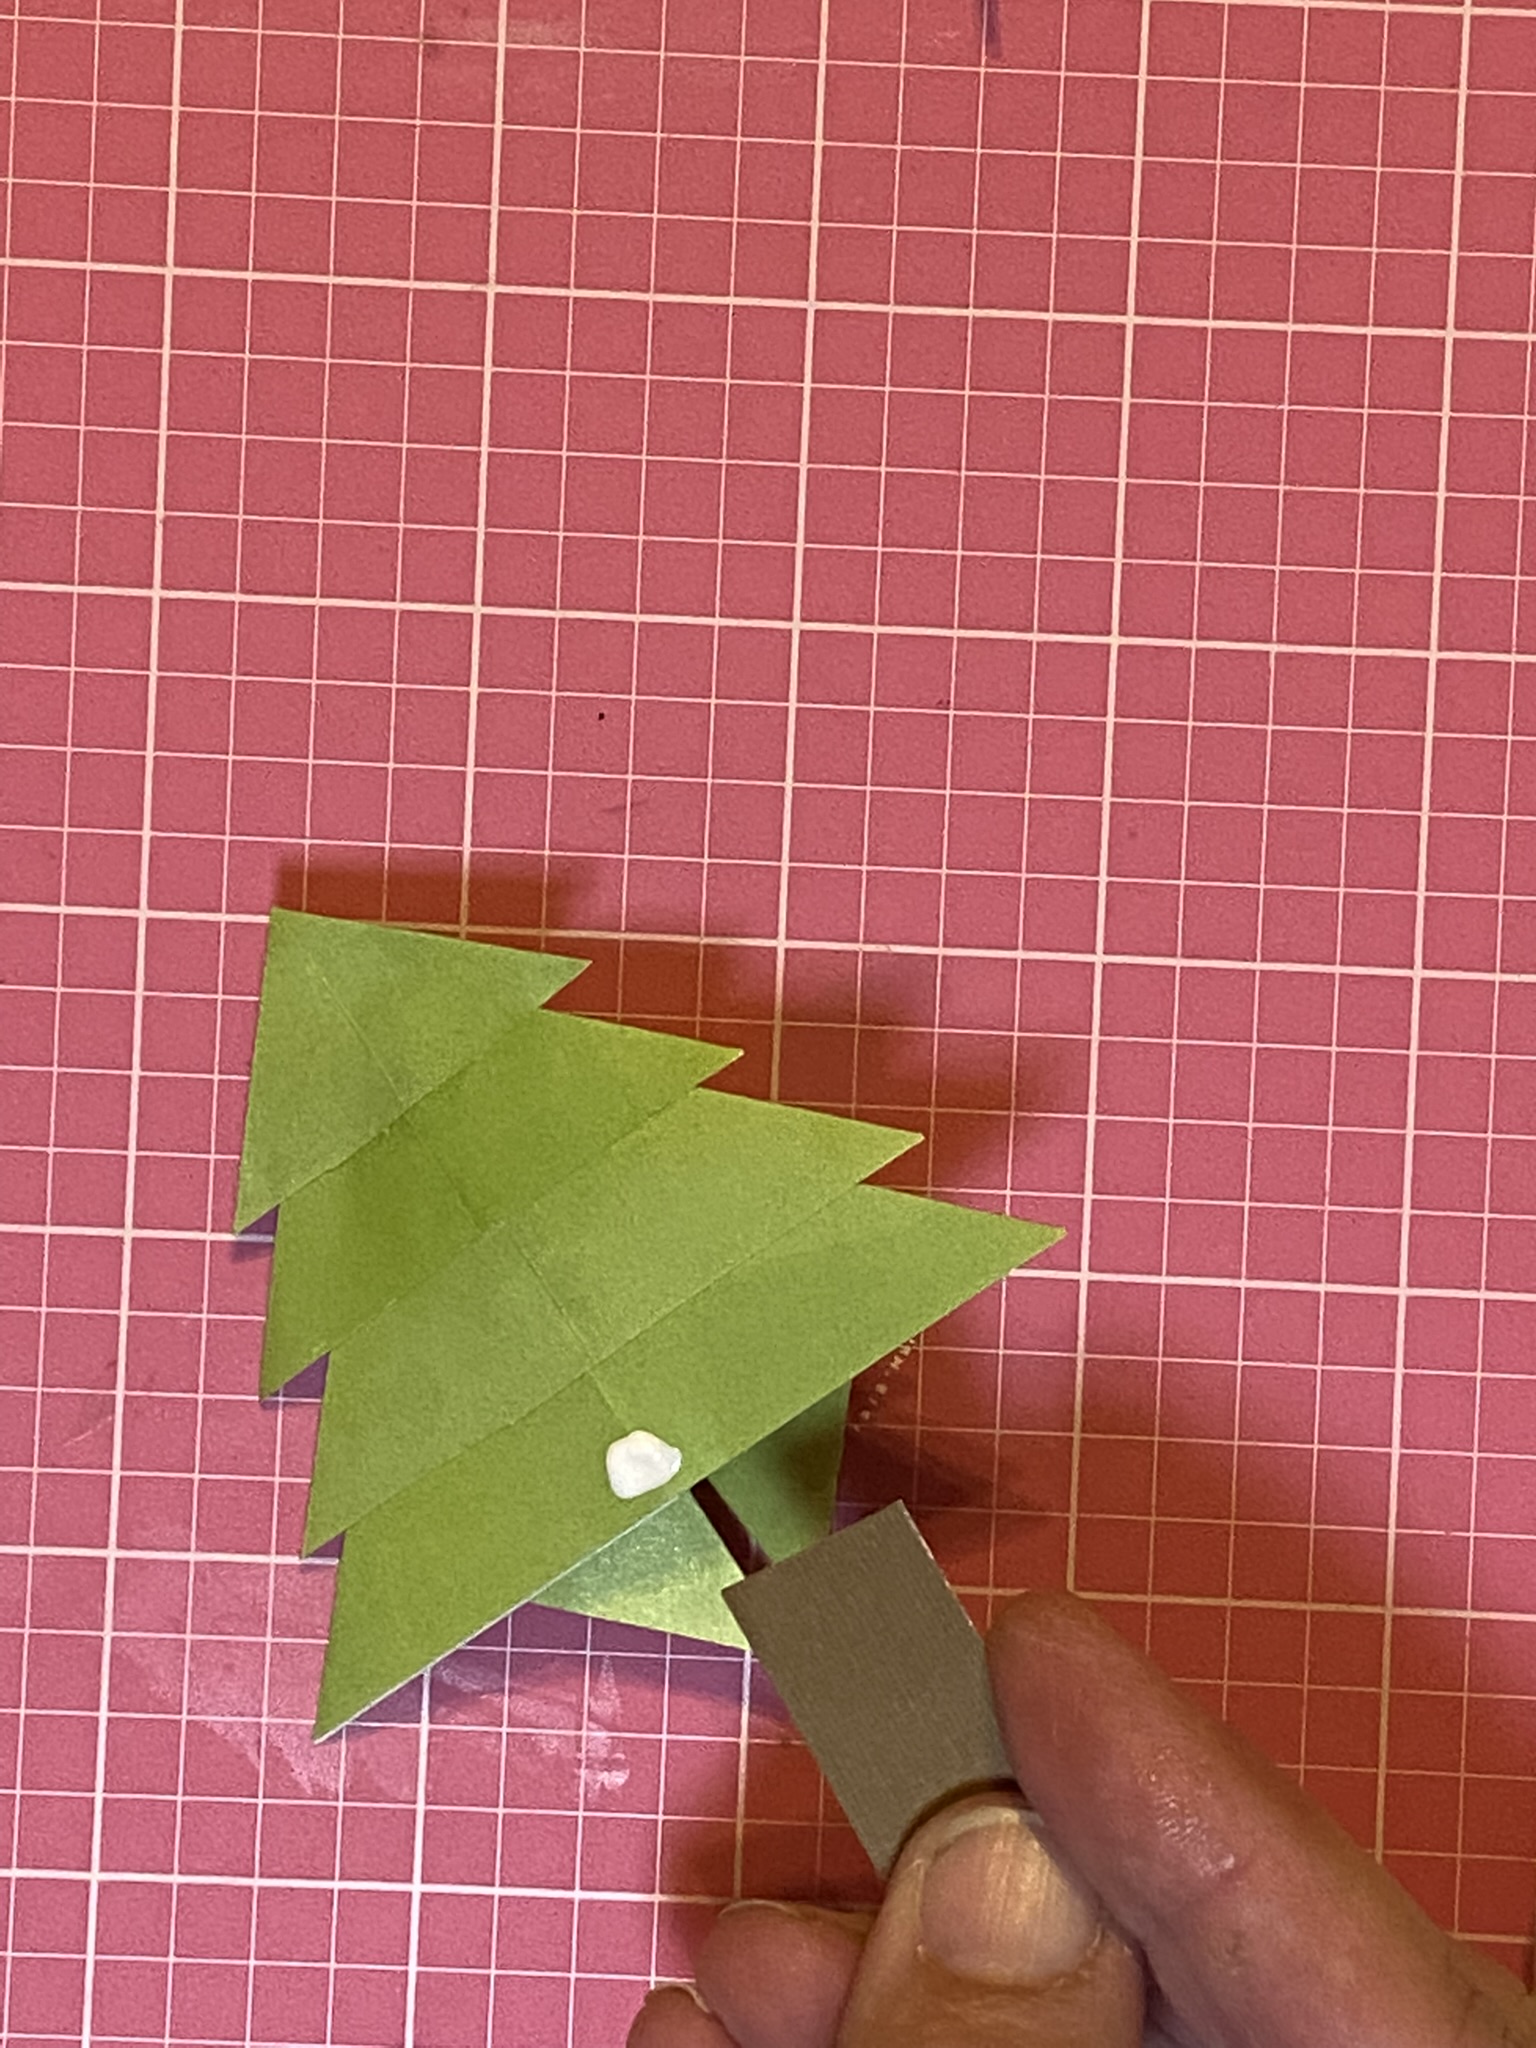
You will
need the paper you would like for your trees, a piece of brown cardstock for a
trunk if you wish to have one, a bone folder, and some adhesive. That's is it except for if you want a decorated Christmas tree then you will need some embellishments of your choice.
The squares
of paper are 3”, 2 ½” 2”, and 1 1/2”. That gave me a tree that is 2 1/4” tall.
If you want larger trees just increase the sizes of paper such as 4”, 3 ½”, 3”,
and 2 ½”. Just remember to go down ½” at a time. Your tree could be slightly
taller or shorter by how far each square is adhered to the other. You will
understand what I mean later.
For each
square, fold it in half and then open rotate and fold in half again. So, you
will be folding the square in half horizontally and vertically. Then you will
fold the square from corner to corner, open it and repeat for the other two
corners. As you will see in the first picture below, you will be folding it along each of the lines.


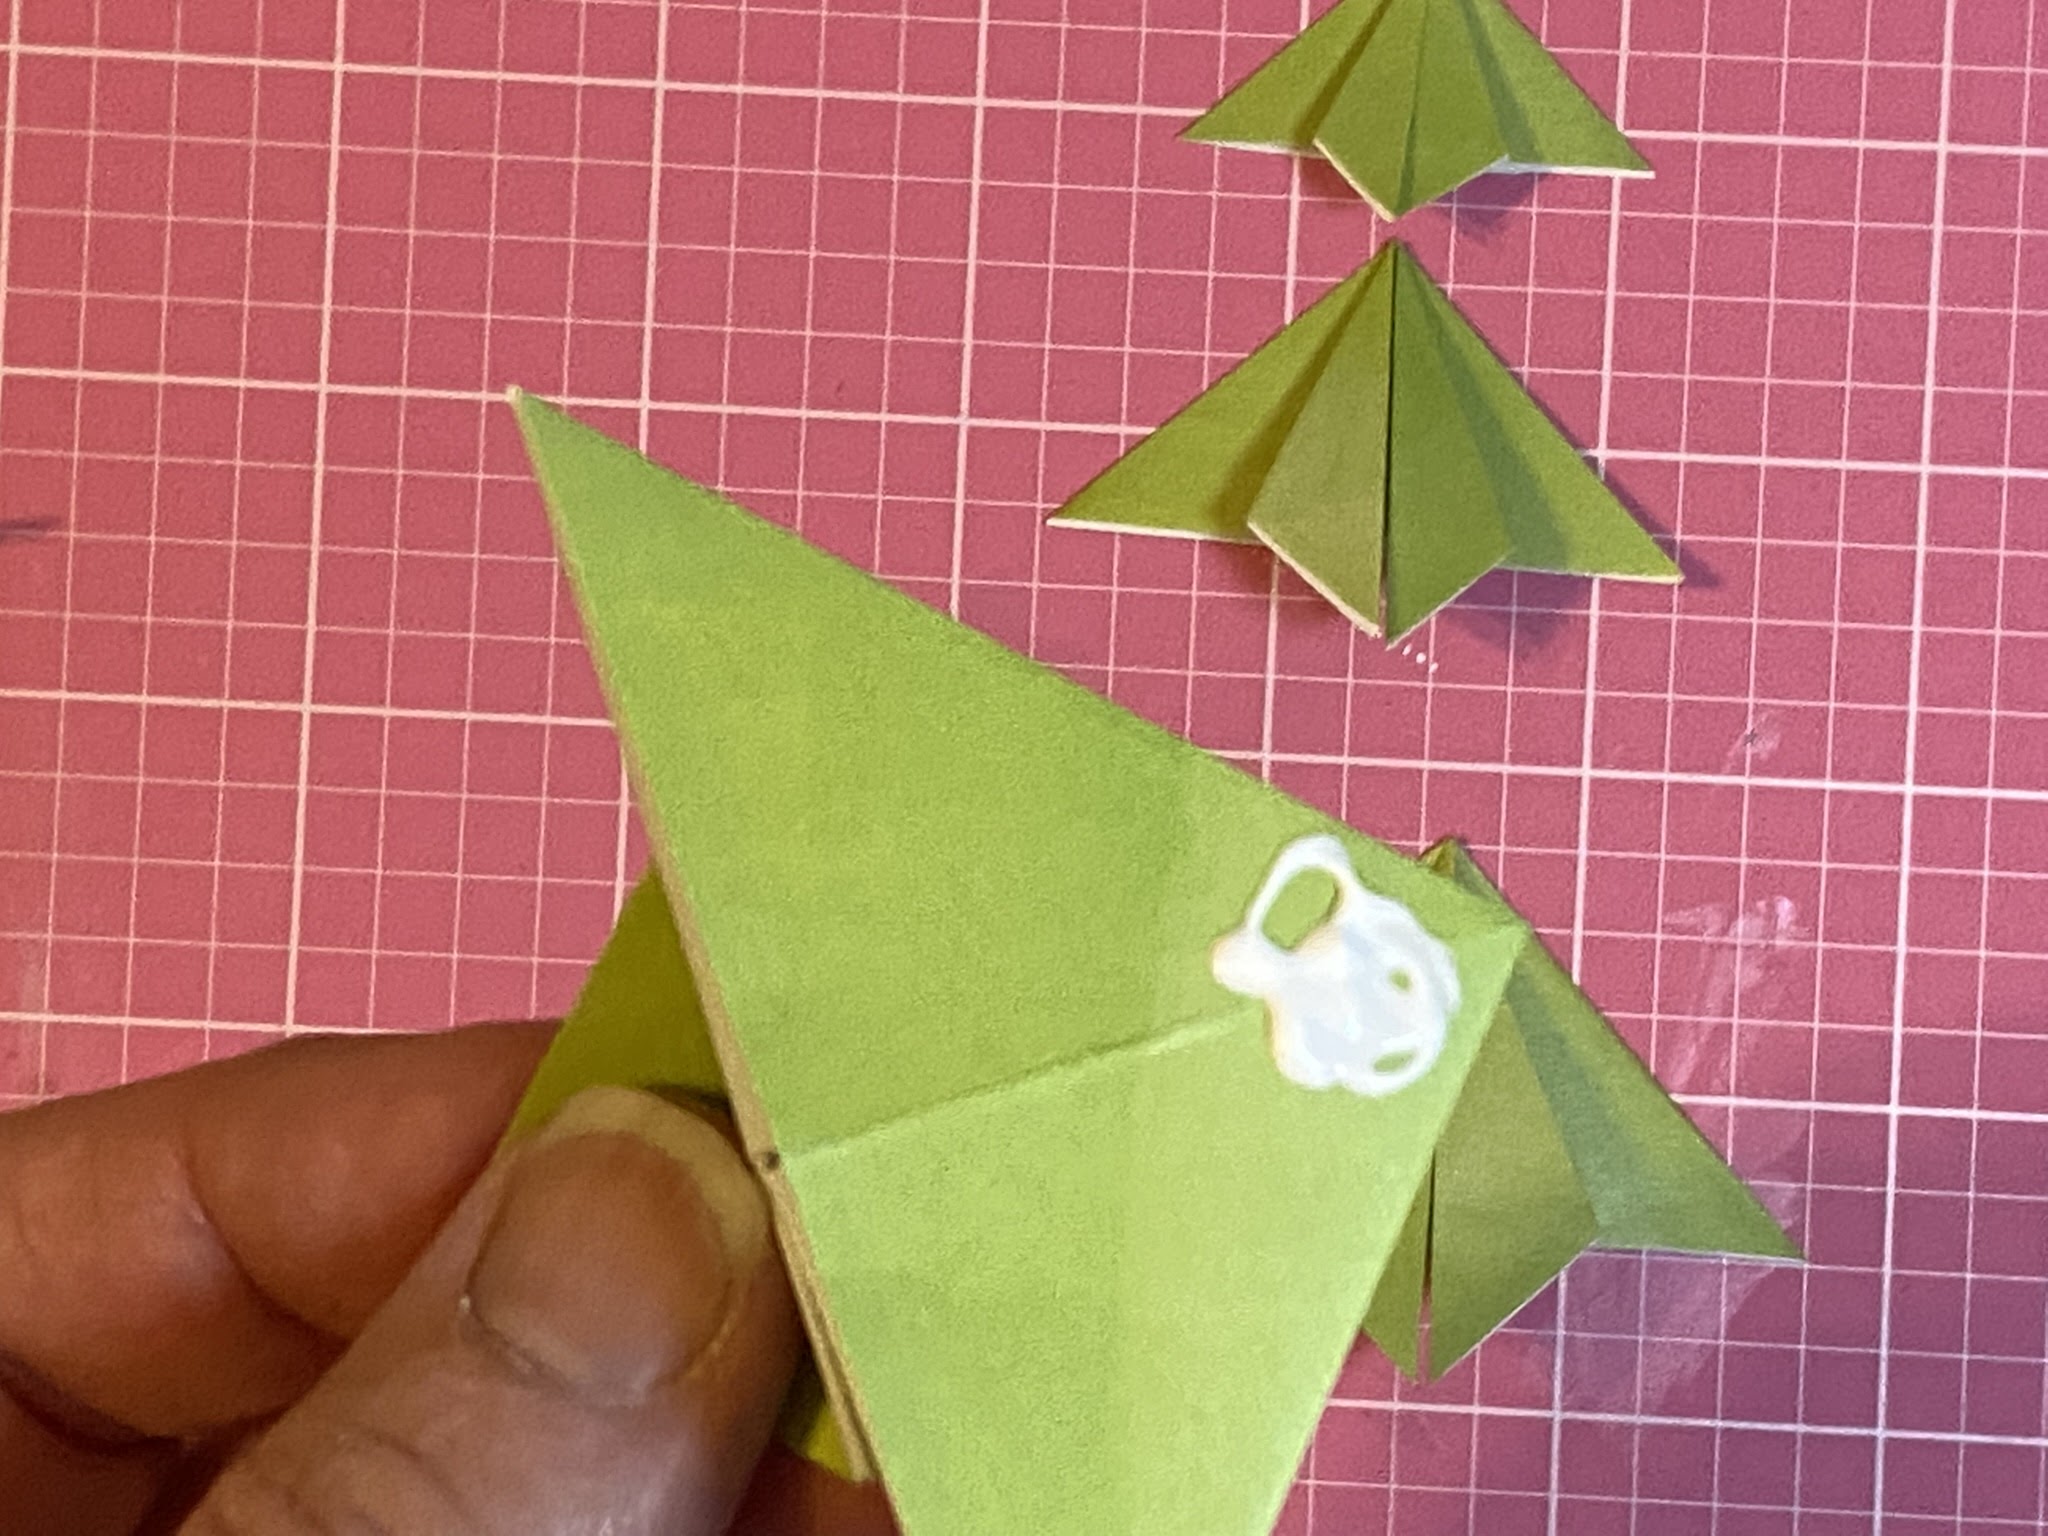
Open the square and you will see all the fold lines. You will have the two side folds go in and then you fold it flat and when you are done it will look like a triangle. Then you will fold the top layer towards the center fold and repeat for the other side. Make sure to use your bone folder for each fold to make it nice a creased which will give you better definition to your project.


Here's a quick tutorial video on how to make them. It isn't perfect but it was my first time doing a video like that.
Hope you try to make these adorable trees! Enjoy!
No comments:
Post a Comment